Last Updated: August 14, 2016 19:52


Following interactive symbols appear throughout this manual for your convenience.

Navigation Menu
Video Demonstration

Diapente is divided into several 'tabs.' These are Artist, Album, Library, Playlists and Play Queue. Navigate by swiping in either direction.
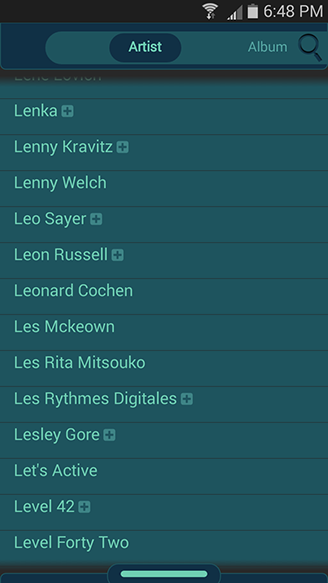
Artist tab lists all artists from servers you selected. For all tabs, gray items indicate offline status.
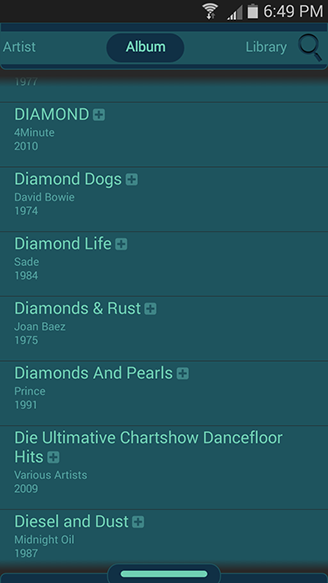
Album tab lists all albums from servers you selected.

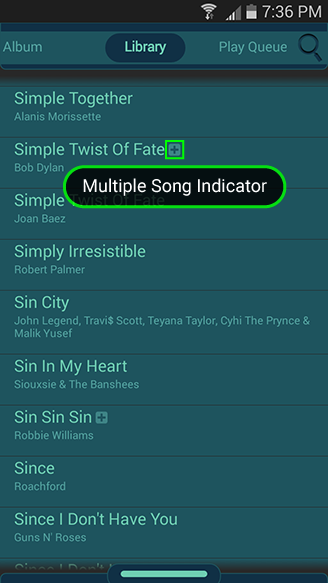
Library tab lists all songs from selected servers. '+' icon indicates availability of multiple songs.
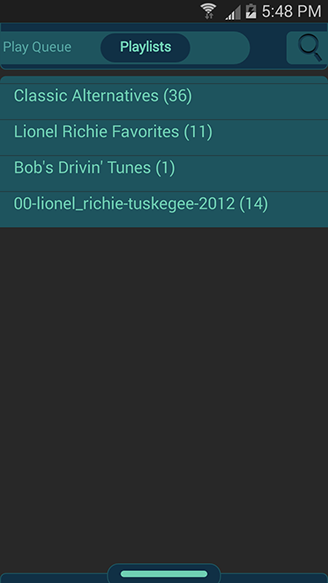
Playlists tab lists all server playlists from selected servers.

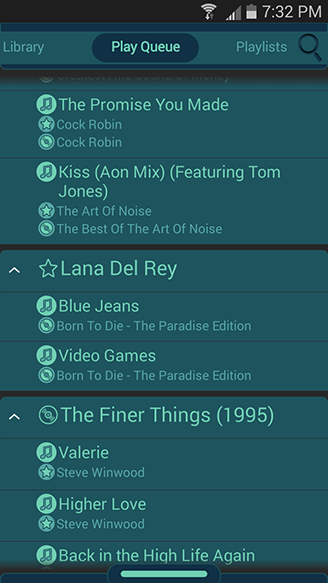
Play Queue tab is where your selected artists, albums, songs, or playlists are stored and they will be played in the order as it appears on this list. Click any item here to play or switch to the song.
Main menu is accessed by pressing 'Menu' button or overflow button in the Navigation Bar on Android 3.0+.
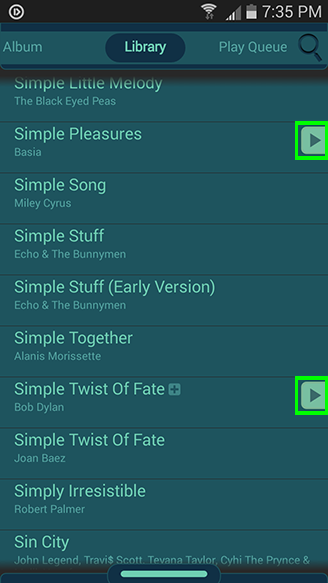
In Library tab, simply click the songs to queue. It will play immediately if no other song is playing. Queued songs are Indicated on far right.
If there's more than one song available for a given title, it will be indicated by a '+' icon. The system will choose a title when you click on these.
Or you may long click to choose a specific title yourself.


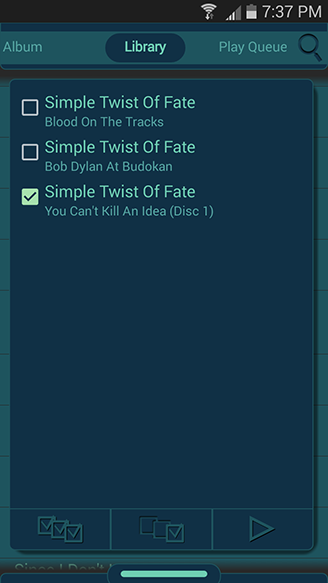
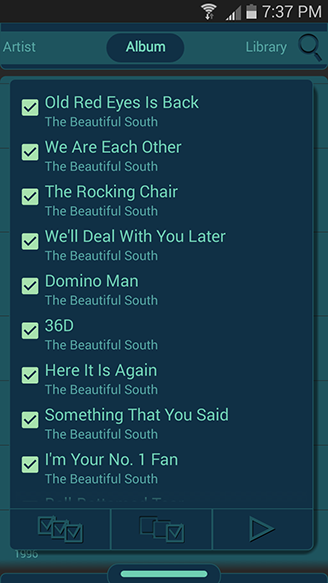
Clicking on any items on Artist, Album or Playlists brings up the song selection dialog.

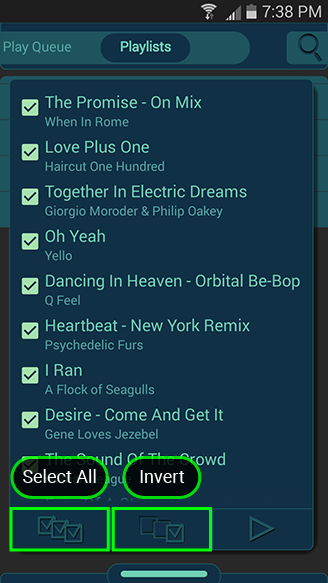
'Select All' button selects all songs, 'Invert' button inverts your selections.
'Queue' button sends your selections to Play Queue tab. Long click will send your selections to 'Library' group. If no song is playing, it will begin playback immediately.

Play Queue Management

  • In Play Queue tab, songs are grouped by their source category. Songs may be reordered within its own group.
  • Play Queue management features are available for Android 3.0+ versions only.
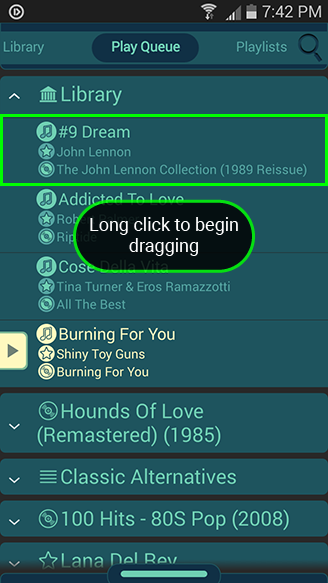
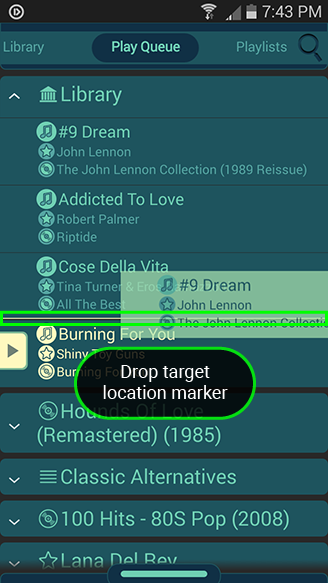
In order to move a song, begin by long clicking on the song to start the drag and drop operation. Then begin moving to your target location.
A yellow drop location marker appears to indicate where the drop will take place. Release your drag to complete the move.
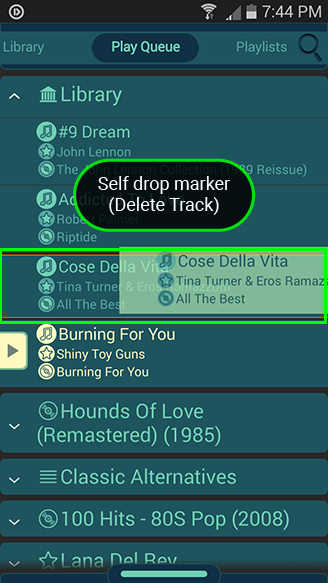
Lastly, a song can be dropped on itself to delete the song. It will be indicated by orange colored lines when it's hovering over itself.
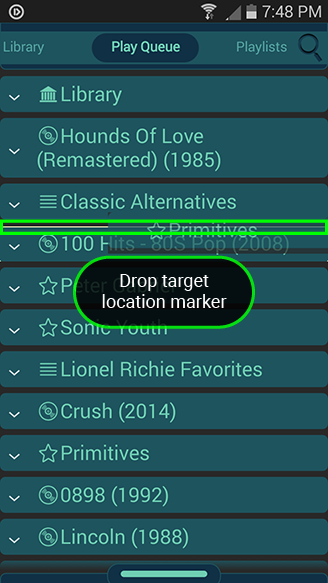
Upon long clicking a group, the system automatically collapses all groups.

Drag over to a target and the target location will be highlighted.

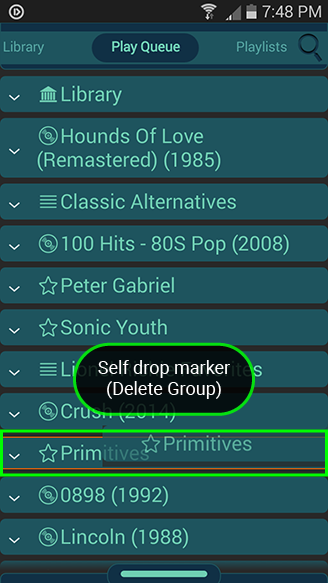
A group can be deleted by dropping onto itself.


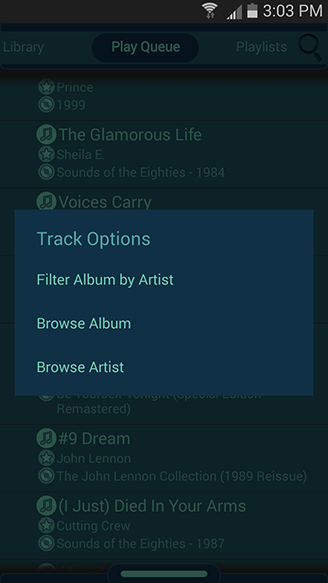
There's additional options on each track in Play Queue.
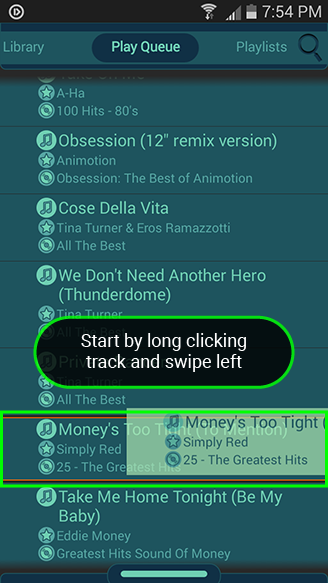
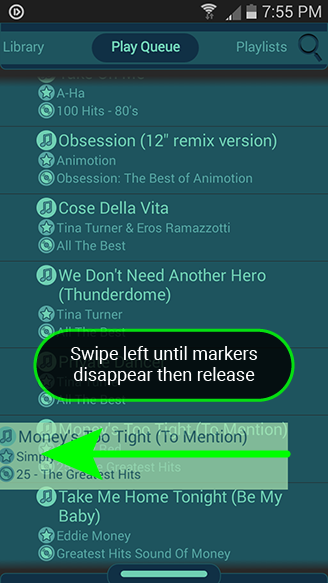
To open Track Options dialog, begin by long click on a track. When orange self-drop markers appear, swipe left.
Swipe left until self-drop markers disappear then let go. If you let go too early, the track will be deleted instead.
Album tab may be filtered by selected track artist, or browse entire album or artist.
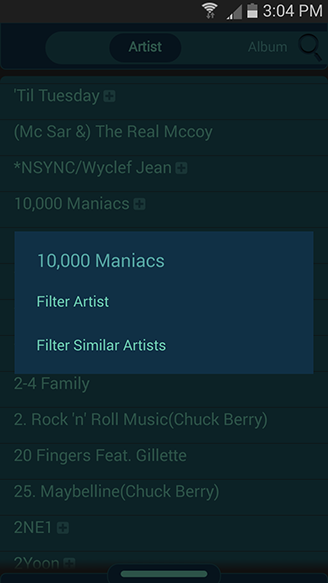
Long click on an artist to bring up the sub menu. You may choose either 'Filter Artist' or 'Filter Similar Artist' to select all artists beginning with that name.
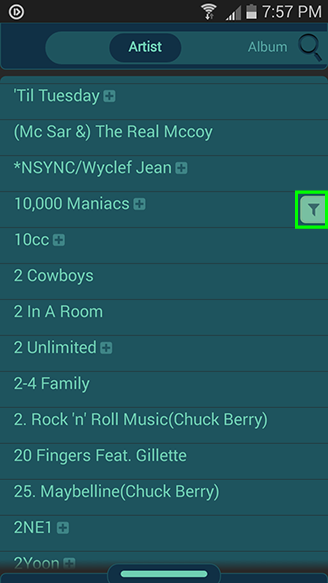
A marker appears on the far right side to indicate active filter on Album tab. Multiple artists may be marked at the same time.
Album tab with artist filter applied. Notice the markers appearing on the left side of each entry. Dark markers indicate multi-artist album; Long click on them to browse the entire album.

Album, Artist, Library and Playlists tabs may be filtered to show only items that meet your criteria.
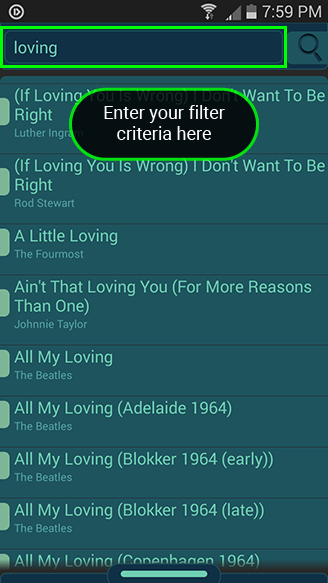
Clicking Search icon shows filter input box.
As you type into filter input box, it will immediately show results.
Clicking again on Search icon closes the input box; long click will clear the input box.

In Play Queue tab, you may search to hightlight matched words. When a search is active, scroll up and down to jump to next or previous matched instance.
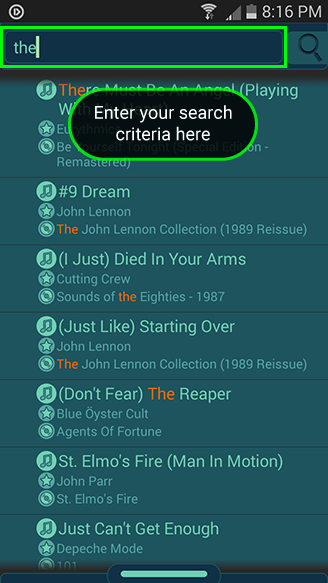
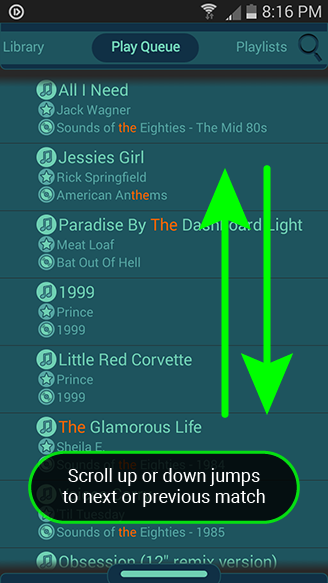
In this example, we'll search for the word 'The' in Play Queue tab.
Search term will be highlighted as you type.

Scroll up or down to find next or previous match.

Filter criteria may be cleared by long clicking Search icon when the filter criteria is visible.
Alternatively, it can be cleared by Menu -› Clear Filter option. This option will clear search criteria from ALL tabs.

Player Drawer

Player Drawer contains playback controls and other functions. It also serves as information display, providing album artwork and other technical details.
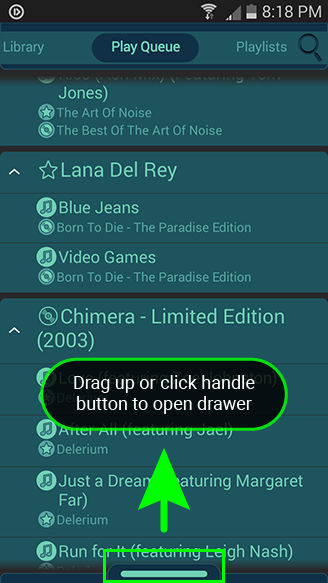
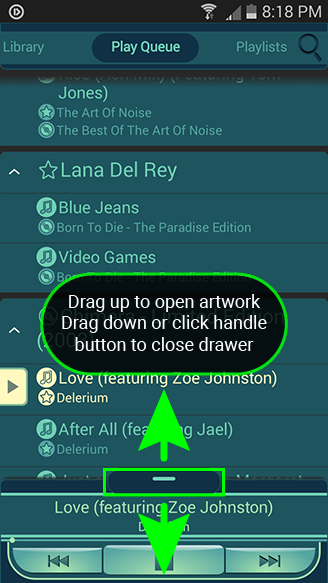
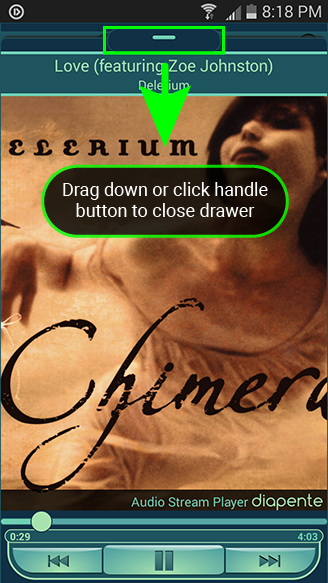
Initially, Player Drawer handle is located at the bottom of screen. You may click the button or drag up to open. Note that the button is actually bigger than it appears as highlighted.
'Back' button may be used to close the drawer as well.


Drawer handle button or 'Back' button may be used to close the drawer completely. Drag down the handle button to close art work browser only.
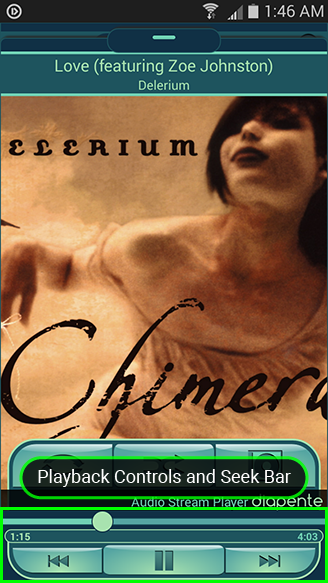
Previous/Repeat, Play/Pause and Next buttons provide playback control. Previous/Repeat will move to previous song on click or repeat the current song on long click. Use the seek bar to jump to desired time*.
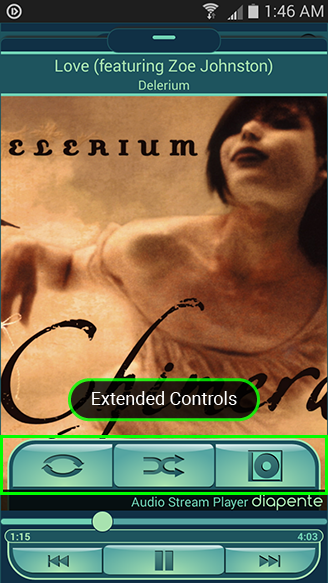
Repeat and Shuffle buttons provide additional playback controls. This panel may be toggled by clicking on the album art graphic.
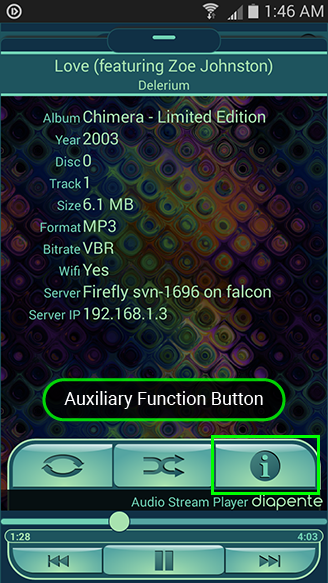
Auxiliary function button cycles through Artwork, Information and Lyrics panes. Information pane, shown here, provides technical detail about the currently playing song.

* Seeking and Resume functions are currently available on MP3 format only.

Album Cover Art Browser

Artwork Browser supports embedded ID3 cover art. In addition, art works provided by CoverArtArchive.org, AlbumArt.org and Last.fm are used.
If a track contains embedded artwork, then online album cover art browser is disabled. You must remove the embedded artwork if you wish to use the online album cover art browser.

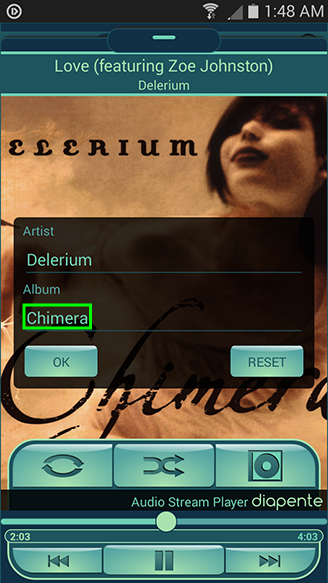
Occasionally, special edition albums are not found. Also, the song may contain misspellings. Create custom album art query by long clicking the album art graphic.
After modifying query, click 'OK.' It may be necessary to swipe to select correct album art.

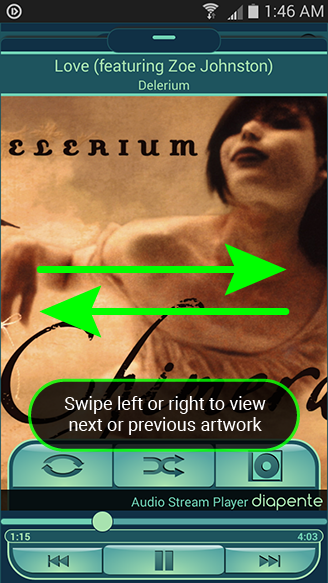
You can swipe album cover art to set it to next or previous available artwork. If there is an embedded artwork, swipe is disabled.
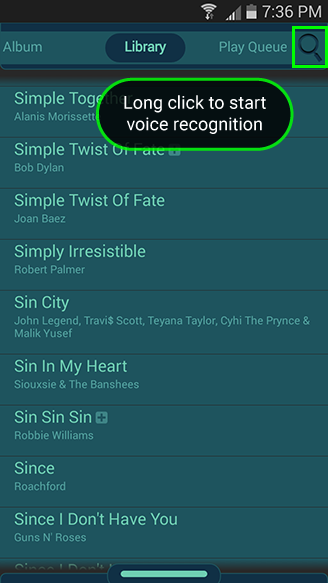
Long click Search button to start voice recognition. Voice recognition language defaults to system locale but it may be overridden in Settings menu.
Click Play Queue title to collapse all expanded groups.


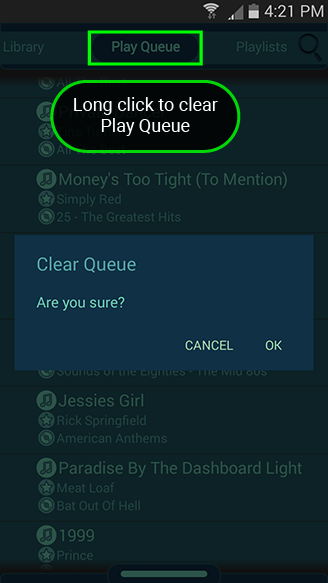
In Play Queue tab, long clicking the tab name will clear the queue as well as search filter. You may cancel the clear queue action on the subsequent dialog.
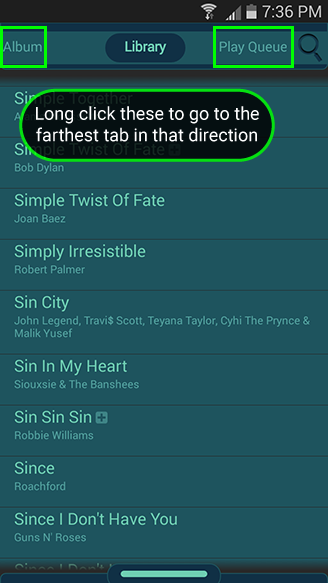
Long clicking either side of the current tab name will navigate to far end in that direction.

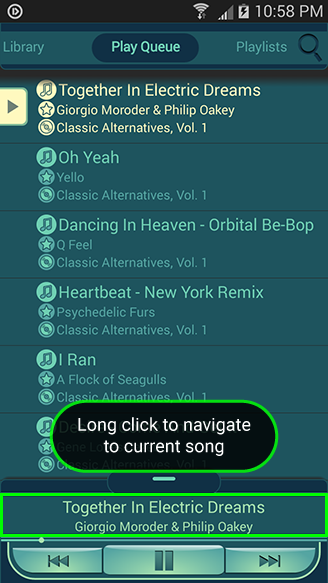
Long click on song title to reposition your view to the current song on Play Queue. This will work from any tab.
Long click Play/Pause button to reset the current song. At this state, the wallpaper may be changed by swiping horizontally. Available patterns are shown here.
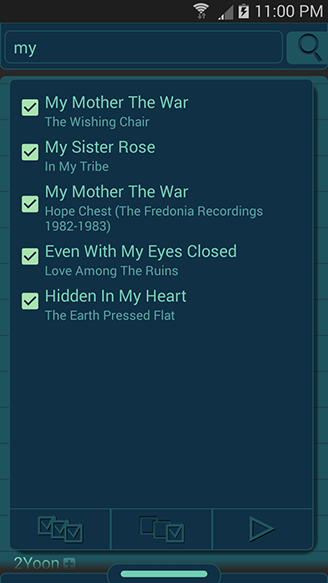
In addition to the tabs, Song Selection Dialog may be filtered as well.
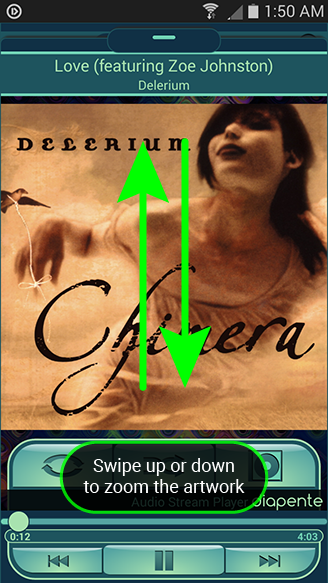
On devices with extra space, album cover may be zoomed in or out by swiping in vertical direction.
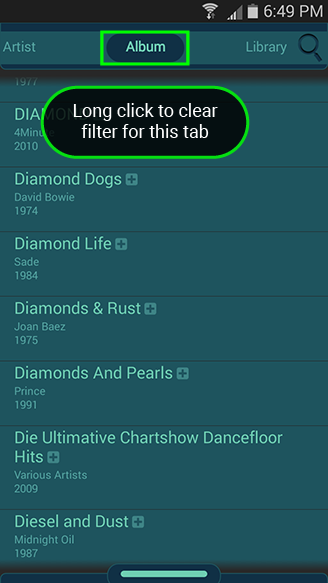
Search filter on each tab may be cleared indivitually by long clicking on its title.

Server Management

  • Servers screen lists servers you've selected. More servers may be added by using action icons.
  • Music servers must appear here and be authenticated in order to appear in music catalog.
  • Servers screen is accessed by pressing Menu -› Servers.
  • Free version is limited to 2 servers.
Action bar icon and overflow menu icon.
Status icons indicate various conditions. Yellow indicates 'ON' position.
You may log in or out by clicking on a server. Offline (green O) and logged off (green L) servers are excluded from catalog.
'Browse Local Servers' icon opens 'Server Browser.'

'Server Browser' lists all music servers found on your local WIFI. Click a server to bring up the server dialog.
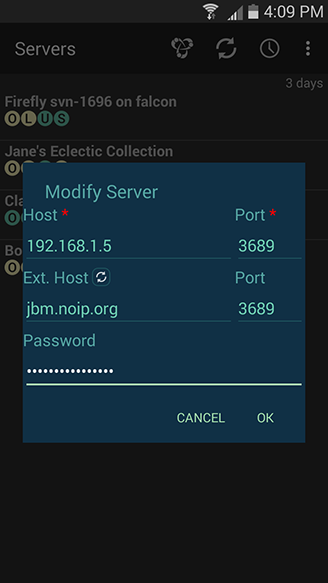
'Host' and 'Port' will be filled automatically. Supply the password and optionally put 'Ext. Host' and its port to enable Internet streaming. Click 'OK' to add to 'Servers.'
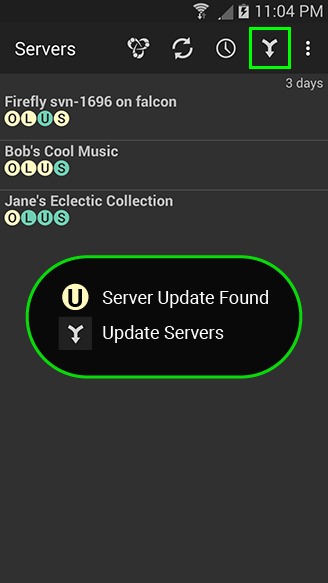
When updates are found, they are marked on the update status icon. Also an additional action icon appears for updating.
Long click on a server brings up the actions dialog.


An example of server dialog. Note that 'Ext. Host' can be reset by Reset action button next to its label.

Server Sharing

  • Servers may be shared through NFC functionality.
  • In order to share your servers to another phone, simply open 'Servers' activity and bring your phone and the target phone in close proximity. The target phone must be turned on and screen unlocked. Both phones must have their NFC function turned on as well.
  • If the target phone does not have 'Diapente Audio Stream Player' installed, it will be directed to the app's Play Store for installation. Once installed, you may need to repeat the transmission again to complete it.
  • Shared server credentials will be encrypted on your guest's device. Guest devices will be required to contact our server in order to decrypt credentials on each session.
  • Guest servers have limit of one catalog update per every three hours.
  • Servers without password cannot be shared.
  • Free version has a 2 server limit, so if shared servers go over the limit it will result in a failure.
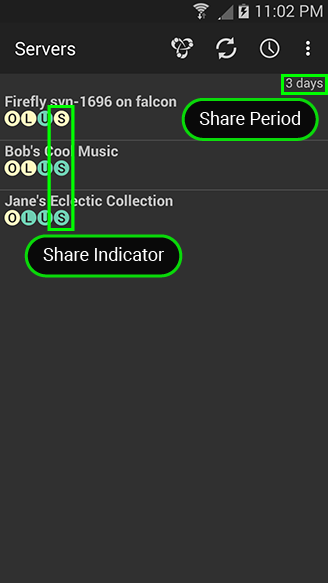
Shared servers are indicated by yellow 'S' symbol. Long click on a server then click 'Share' to toggle share status. Shared servers will be shared for displayed share period.
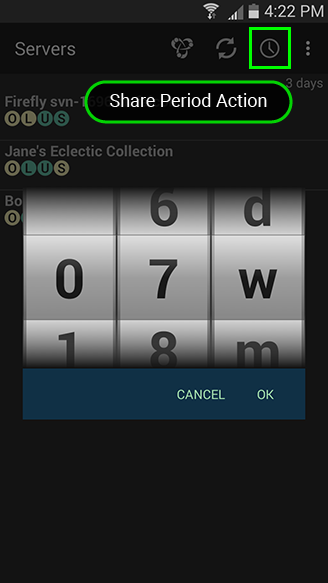
Share period may be adjusted by clicking the 'Share Period' action icon.

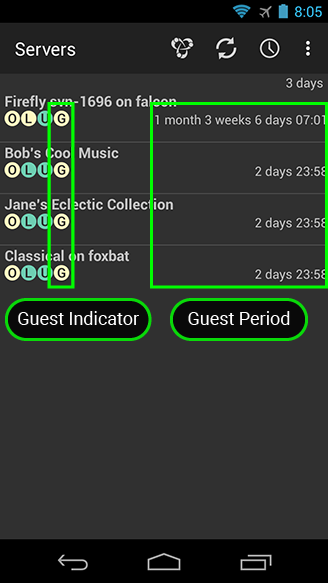
Received servers are indicated by 'G' symbol. Also, the server entry contains remaining share period. Guest servers are not permitted to be sharable.